
You just unboxed a shiny new wireless microphone and you’re ready to record. But the moment you try to connect it to your phone, nothing happens. No signal. No audio. Just silence and a growing sense of frustration.
You’re not alone. In fact, this is one of the most common problems creators, vloggers, and field recorders face when they switch from wired to wireless audio. It becomes even more noticeable when using a mic for vlogging without proper setup knowledge.The good news is that connecting a wireless microphone to your phone is simpler than most people think once you know the exact steps.
Whether you’re shooting YouTube videos, recording reels, or covering live events, this guide walks you through everything clearly. You’ll learn how to connect on both Android and iPhone, fix common issues, and get the cleanest audio possible from your setup. Let’s get straight into it.
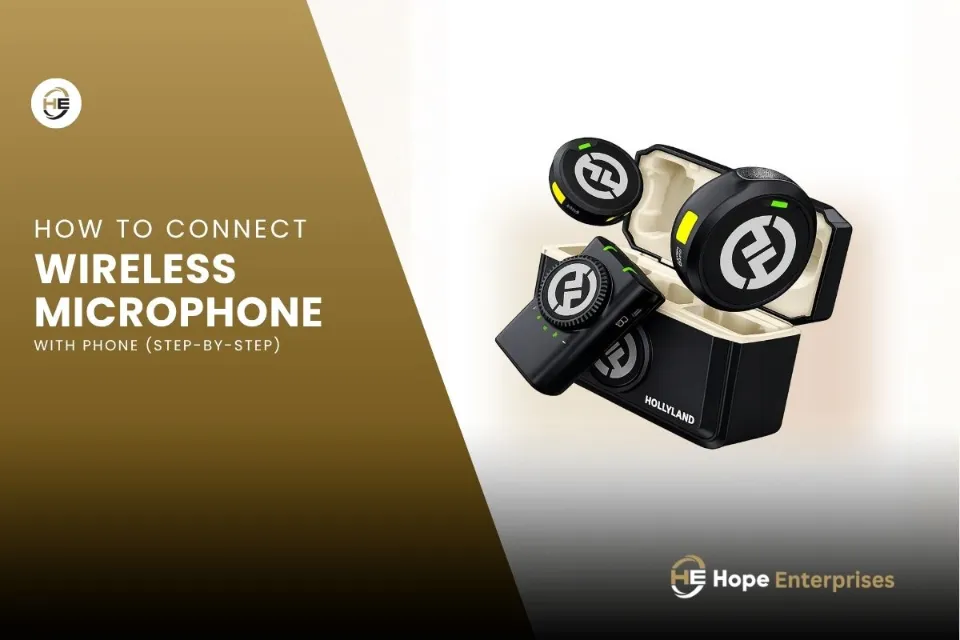
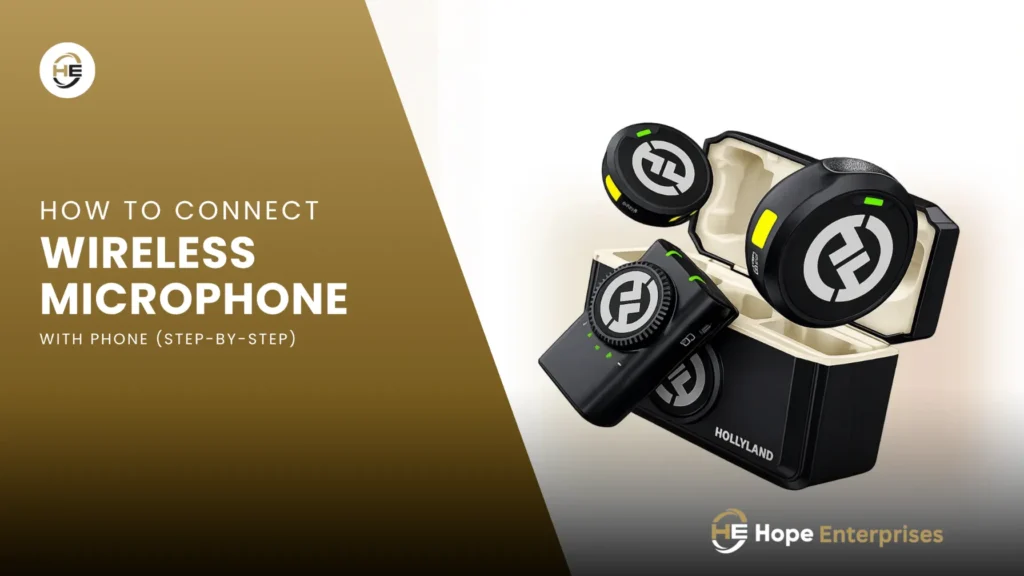
Steps to Connect Wireless Microphone to Phone
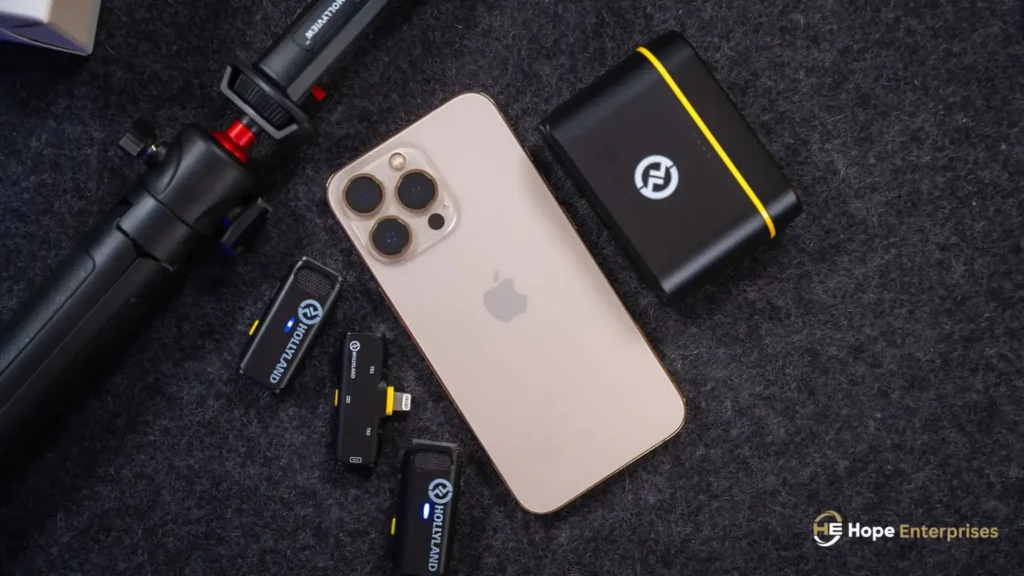
First of all, it helps to understand what you’re working with. Most wireless microphones for phones come with two parts: a transmitter (the mic you clip on) and a receiver (the part that plugs into your phone). The connection process is straightforward once you follow the right order. Here is exactly how to do it.
Plug the Receiver into Your Phone
Start by identifying the correct port on your phone. Most Android phones use a USB-C port, while iPhones use a Lightning connector. Your wireless mic for phone receiver should match your device if it doesn’t, you’ll need a compatible adapter.
Plug the receiver firmly into your phone’s charging port. As soon as you connect it, your phone should automatically detect it as an audio input device. You don’t need to install any app at this stage. Simply plug in and let the phone recognize the hardware. If your phone asks which app to open, select your preferred camera or recording app.
Turn on the Microphone
Once the receiver is plugged in, power on the transmitter, the small clip-on unit that captures your voice. Most units have a single power button on the side. Hold it down for two to three seconds until the indicator light turns on.
This light confirms the transmitter is active and broadcasting a signal. At this point, clip the transmitter to your collar, lapel, or shirt approximately 15 to 20 centimeters from your mouth for the clearest vocal pickup. Make sure the mic capsule faces upward. Positioning matters more than most people realize, particularly for outdoor recording.
Wait for Automatic Pairing
Here’s where many beginners panic unnecessarily. After powering on the transmitter, give it five to ten seconds. Most modern wireless microphones (e.g. Hollyland, Ulanzi) pair automatically, meaning the transmitter and receiver recognize each other automatically without any manual Bluetooth setup.
Watch the indicator lights on both units. When both show a solid light rather than flashing, the system confirms pairing and the signal goes live. On the other hand, if the lights keep blinking, power both units off, wait five seconds, and restart. In most cases, the second attempt connects immediately.
Test Audio in Recording App
Don’t assume everything is working, always test before you record anything important. For this purpose, open your phone’s default camera app or a dedicated recording app like FilMiC Pro or Voice Recorder. Speak at a normal volume near the transmitter and watch the audio level indicator on screen.
If the bar moves when you speak, your wireless microphone connects successfully and captures audio correctly. However, if there’s no movement, go to your phone’s sound settings and manually set the input source to the external microphone. On Android, this is usually under Sound or Developer Options. On iPhone, the input switches automatically once the receiver is detected.
How to Connect Wireless Microphone to Android Phone
It is one of the most searched questions among new creators and for good reason. Android phones handle external microphones well, but the process varies slightly by brand and model. Below is a clear step-by-step breakdown.
- Check your port type: Most modern Android phones use USB-C. Make sure your receiver matches or use a USB-C adapter.
- Enable OTG support: In some Android phones you need to turn on USB OTG in Settings before they recognize external audio devices.
- Plug in the receiver: Insert the receiver into your USB-C port firmly. Your phone should display a connected device notification.
- Open your camera or recording app: Launch the app you plan to record with. The mic input should switch automatically.
- Check audio input settings: If your phone doesn’t detect audio, go to Settings, then Sound, and manually select the external microphone as your input source.
- Test before recording: Speak into the transmitter and confirm the audio level is registering on screen before you start your session.
How to Connect Wireless Microphone to iPhone
iPhones are slightly more straightforward with external mic connections, but there are a few things worth knowing first. Connecting a wireless microphone to iPhone is simple when you follow the correct sequence from the start.
- Use a Lightning-compatible receiver: iPhones use Lightning ports (or USB-C on iPhone 15 and later). Make sure your receiver is compatible or use Apple’s official adapter.
- Plug in the receiver: Connect the receiver to the bottom of your iPhone. iOS detects it automatically with no additional setup required.
- Power on the transmitter: Turn on the clip-on transmitter and wait for both indicator lights to show solid, confirming the connection is live.
- Open the Camera app: iOS automatically routes audio input to the external microphone once the receiver is plugged in. No manual switching needed.
- Use third-party apps for more control: Apps like FilMiC Pro let you monitor input levels and adjust gain in real time for better results.
- Test your audio: Record a short clip and play it back to confirm the voice is clear and the mic is the active input source.
How to Use Wireless Mic for Video Recording
A wireless mic for video recording does more than just cut the cable. Used correctly, it transforms your production quality and gives you the freedom to move naturally in front of the camera. Consequently, here’s how to get the best results every time you record.
Start by positioning the transmitter correctly. Clip it to your lapel or collar, with the mic capsule pointing toward your mouth. Furthermore, avoid placing it near fabric that rustles or jewelry that clinks both create distracting noise that’s difficult to remove in editing.
Keep the transmitter and receiver within the manufacturer’s recommended range. For most compact recording microphones, that’s around 50 to 100 meters in open space but walls, crowds, and interference can reduce this significantly in real conditions.
Before every shoot, do a quick sound check. Record 30 seconds of normal speech, play it back, and listen for clarity, volume, and any background noise. Accordingly, adjust your distance from the mic or your gain settings accordingly. This simple habit saves hours of editing time and ensures every take counts.
Why Wireless Microphone Is Not Working on Phone
If your mic isn’t working on your phone, the cause is almost always one of these:
No audio detected after plugging in: Your phone may not have OTG enabled (Android) or the receiver may not be fully inserted. Remove and reinsert the receiver firmly, then check your sound input settings.
Lights flashing but no signal: The transmitter and receiver have lost their pairing. Power both off, wait five seconds, and restart the transmitter first, then the receiver.
Audio is very low or muffled: The transmitter is too far from your mouth, or it’s placed under thick clothing. Reposition it on the outside of your collar for cleaner pickup.
App not recognizing the mic: Some apps don’t auto-switch to external audio. Go into the app’s audio settings and manually select the external microphone as the input source.
Tips for Using Wireless Microphone with Phone
Getting a wireless microphone connected is just the first step. Equally important, using it well is what actually improves your audio. These practical tips make a real difference whether you’re a first-time user or upgrading your existing setup.
Check Microphone Permissions
Before you record a single second, make sure your recording app has permission to access the microphone. This is a step many creators skip — and then spend twenty minutes wondering why there’s no audio.
On Android:
- Open Settings and tap Apps
- Select your camera or recording app
- Tap Permissions
- Enable Microphone access
On iPhone:
- Open Settings and scroll to your recording app
- Toggle Microphone permission on
Without this, even a perfectly connected wireless mic will produce no audio in that specific app. Therefore, check permissions every time you install a new recording app it takes ten seconds and saves a lot of frustration.
Enable OTG on Android
OTG stands for On-The-Go and it allows your Android phone to act as a host for external USB devices including wireless mic receivers. Without OTG enabled, your phone simply won’t recognize the receiver even if it’s plugged in correctly.
Tip: To enable it, go to Settings, then Additional Settings or Developer Options depending on your Android version, and toggle USB OTG on. Some phones enable it automatically when you connect a device. In addition, if you’re unsure whether your phone supports OTG, download a free OTG checker app from the Play Store. Most phones released after 2017 support it without any issues.
Make Sure Battery Is Charged
A low battery is one of the most overlooked causes of poor wireless mic performance. When the transmitter battery drops below 20%, signal strength weakens, audio becomes intermittent, and connection drops become more frequent, often mid-recording.
Tip: Always charge both the transmitter and receiver fully before a shoot. Most compact wireless systems charge via USB-C and take 60 to 90 minutes for a full charge. As a result, if you’re shooting for more than two hours, carry a small power bank to recharge between takes. Checking battery levels before every session takes thirty seconds and prevents you from ruining entire shoots.
Keep Proper Distance for Clear Audio
Distance between the transmitter and your mouth directly affects audio quality. Too close and you get an overpowering, bass-heavy sound. Too far and the voice sounds thin, distant, and full of room noise.
Tip: The ideal placement for a lavalier microphone for phone is 15 to 20 centimeters from the mouth, typically the upper chest or collar area. For handheld transmitters, hold them at chin level about 10 centimeters away. Similarly, if you’re recording outdoors, move the mic slightly closer to compensate for wind and ambient noise. Small adjustments in positioning make a surprisingly large difference to final audio quality.
Use Bluetooth if No Receiver
Not every wireless microphone uses a physical receiver. Some modern mics connect directly to your phone via Bluetooth, making them a convenient option when you don’t have a USB-C or Lightning port available or when you’re using a phone case that blocks the port.
Tip: To connect via Bluetooth, turn on your mic, go to your phone’s Bluetooth settings, and select the microphone from the available devices list. As soon as it is paired, open your recording app and confirm your phone selects the Bluetooth mic as the audio input.
Keep in mind that Bluetooth audio can introduce a slight delay, so it works best for voiceover and interview content rather than video where sync is critical.
Best Wireless Microphone for Phone Recording
Choosing the best wireless microphone for smartphone recording comes down to your use case, budget, and phone type. To summarize, the following are the top options worth considering in 2026.
| Microphone | Best For | Use Cases |
| Hollyland LARK M2 Combo | Overall best | YouTube videos, interviews, podcasting |
| Hollyland LARK M2 Duo (USB-C) | Android users | Reels, TikTok, mobile vlogging |
| Hollyland LARK M2S Combo | Best value latest | Content creation, outdoor shooting |
| Hollyland LARK MAX 2 Combo | High-end users | Multi-person podcasts, professional shoots |
| Ulanzi A100 Wireless Lavalier | Budget option | Beginner vlogging, simple voice recording |
All of these are available at Hope Enterprises with brand warranty and full after-sales support.
Where to Buy Wireless Microphone in Pakistan
If you’re looking for a reliable wireless microphone price in Pakistan with genuine warranty and after-sales support, Hope Enterprises is the name to trust. We are the official distributor of leading audio brands in Pakistan, including Hollyland and Ulanzi. Every product comes with a brand warranty, verified authenticity, and dedicated after-sales service so you buy with complete confidence.
We have a network of 100+ authorized dealers across Pakistan. Specifically, you can visit our official website to find the nearest retailer in your area using our dealer locator. No matter which city you’re in, there’s a certified reseller close to you.
If you’re in Lahore, head to Nisbat Road Camera Market, the hub of audio and video products in the city. Hope Enterprises has a strong presence there, and our certified resellers are on hand to offer you original products, live product demos, and a genuinely stress-free buying experience. You can see the mic in action, ask questions, and walk away knowing exactly what you’re getting. Purchase online or visit a dealer near you either way, you get the right product at the right price.
Final Thoughts
Connecting a wireless microphone to your phone is not complicated once you follow the right steps. Plug in the receiver, power on the transmitter, wait for pairing, and test your audio before every shoot. Undoubtedly, that’s genuinely all it takes.
Whether you’re an Android user, an iPhone creator, or someone just starting out with mobile video, the right choice makes an immediate difference to how your content sounds and feels. Good audio builds trust with your audience faster than almost anything else.
At Hope Enterprises, we stock everything you need from beginner-friendly systems to professional wireless mics all backed by brand warranty and real after-sales support. Find your nearest dealer or shop online today.
Frequently Asked Questions
How do I connect a wireless microphone to my phone?
Plug the receiver into your phone’s USB-C or Lightning port. Power on the transmitter and wait for both indicator lights to turn solid. Open your camera or recording app and test your audio. Most modern portable recording microphones pair automatically within ten seconds.
Can I use a wireless mic with my phone?
Yes, absolutely. Most modern wireless mics are designed specifically for smartphone use. They come with USB-C or Lightning receivers that plug directly into your phone with no complicated setup required. Simply connect, power on, and start recording within seconds.
How to connect a wireless microphone to an iPhone?
To connect a wireless microphone to an iPhone, plug the receiver into the Lightning or USB-C port, depending on your model. Turn on the microphone and receiver and they usually pair automatically. Open your recording or video app, and the iPhone will detect it as an external audio source.
Why is my mic not working on the phone?
If your mic isn’t working on your phone, it could be due to a few common issues. Check if the microphone is blocked by dust or debris, ensure app permissions for the mic are enabled, and confirm your external mic is properly connected. Also, try restarting your phone or testing with another app.
Do wireless microphones work with Android?
Yes, wireless microphones work with Android phones, usually through a USB-C receiver that plugs in directly. Most modern systems are plug-and-play, connecting instantly and replacing the phone’s built-in mic. For example, Hollyland Lark series microphones (like Lark M2 or Lark A1) easily connect to Android and deliver high-quality audio.